Build your Pokédex: Part 2 - @ngrx/entity
• • 6 min readThis post is part of a Series of post on which I'm describing how to build your Pokédex using NGRX from beginner to ninja, if you want to read more, you can read the following posts:
- Part 1. Build your Pokédex: Introduction to NGRX
- Part 2. Build your Pokédex: @ngrx/entity
- Part 3. Build your Pokédex: Improve NgRX using create* functions
- Part 4. Build your Pokédex: @ngrx/data
- Part 5. Build your Pokédex: Testing NgRX
Introduction
In this post, we will develop the development of a pokédex using Angular framework and NgRX as a state management library.
It is advisable to know how to manage Angular at an intermediate level and know what a state management library is in order to understand this post properly, because, in this series, we will show how a specific example has been developed (Pokédex), which can be a complement to your NgRX learning.
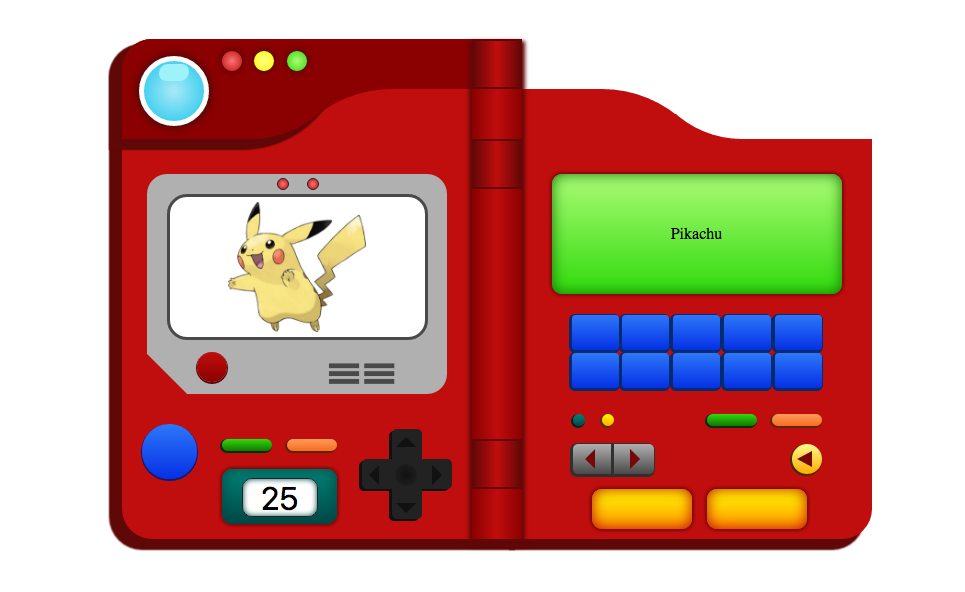
First, the result of what will be built along these posts is shown in the following GIF.
It is essential to have read the first part of this post to understand perfectly what is being built. In this post we will improve the code developed in the first post using the @ngrx/entity package, which will simplify the tasks of creating the reducers and selectors.
@ngrx/entity
The @ngrx/entity package is an adapter for managing record collections. This package provides an API to manipulate and query entity collections.
Therefore, reduces boilerplate for creating reducers that manage a collection of models. Futhermore, it provides performant CRUD operations for managing entity collections. Finally, it is extensible type-safe adapters for selecting entity information.
The first step is to install the package that will provide all these advantages.
npm i @ngrx/entity
EntityState
The Entity State is a predefined generic interface for a given entity collection with the following interface:
interface EntityState<V> {
  ids: string[] | number[];
  entities: { [id: string | id: number]: V };
}
The reason why in the previous post we developed the PokemonState with this two attributes is shown here. The generic attributes are the following:
- ids. An array of all the primary ids in the collection.
- entities. A dictionary of entities in the collection indexed by the primary id.
The pokemon.state.ts file is replaced by pokemon.adapter.ts as shown below.
before
import { Pokemon } from '@shared/interfaces/pokemon.interface';
export interface PokemonState {
  ids: number[];
  entities: { [key: string]: Pokemon };
}
after
import { EntityState } from '@ngrx/entity';
import { Pokemon } from '@shared/interfaces/pokemon.interface';
import { createEntityAdapter } from '@ngrx/entity';

export const pokemonAdapter = createEntityAdapter<Pokemon>();

export interface PokemonState extends EntityState<Pokemon> {}
In our new model we have created the alias PokemonState based on EntityState using inheritance, although we have not included any new attribute to the state.
On the other hand, the createEntityAdapter method is responsible for creating the adapter for ourPokemon data model. This adapter is the one that provides us with a collection of methods to modify the state, as well as to create selectors.
The method takes an object with 2 properties for configuration.
- selectId. A method for selecting the primary id for the collection. Optional when the entity has a primary key of id.
- sortComparer. A comparing function used to sort the collection. The comparing function is only needed if the collection needs to be sorted before being displayed. Set to false to leave the collection unsorted, which is more performant during CRUD operations.
In our case we have not used any configuration property since it is not necessary.
Reducers
The adapter object returned provides a set of methods which can be used in your reducer function to manage the entity collection based on your provided actions.
- getInitialState. Returns the initialState for entity state based on the provided type. The initialState is provided to your reducer function. In our case, this function is wrapper inside of
pokemonInitialState.
export function pokemonInitialState(): PokemonState {
  return pokemonAdapter.getInitialState();
}
Adapter Collection Methods
The entity adapter also provides methods for operations against an entity. These methods can change one to many records at a time. Each method returns the newly modified state if changes were made and the same state if no changes were made.
- addOne: Add one entity to the collection
- addMany: Add multiple entities to the collection
- addAll: Replace current collection with provided collection
- removeOne: Remove one entity from the collection
- removeMany: Remove multiple entities from the collection, by id or by - predicate
- removeAll: Clear entity collection
- updateOne: Update one entity in the collection
- updateMany: Update multiple entities in the collection
- upsertOne: Add or Update one entity in the collection
- upsertMany: Add or Update multiple entities in the collection
- map: Update multiple entities in the collection by defining a map function, similar to Array.map
This set of methods allows us to simplify our reduce function in which we had complex nested objects to modify properties. In this way, note the before and after of this function where practically the code has been reduced to invoke a method.
before
import { PokemonActionTypes, PokemonActions } from './pokemon.actions';

import { PokemonState } from './pokemon.adapter';

export function pokemonInitialState(): PokemonState {
  return {
    ids: [],
    entities: {}
  };
}

function arrayToObject(array) {
  return array.reduce((obj, item) => {
    obj[item.id] = item;
    return obj;
  }, {});
}

export function pokemonReducer(
  state: PokemonState = pokemonInitialState(),
  action: PokemonActions
): PokemonState {
  switch (action.type) {
    case PokemonActionTypes.LOAD_POKEMONS_SUCCESS:
      return {
        ...state,
        entities: arrayToObject(action.payload)
      };

    case PokemonActionTypes.ADD_SUCCESS:
      return {
        ...state,
        entities: {
          ...state.entities,
          [action.pokemon.id]: action.pokemon
        }
      };

    case PokemonActionTypes.DELETE_SUCCESS:
      const entities = { ...state.entities };
      delete entities[action.id];
      return {
        ...state,
        entities
      };

    case PokemonActionTypes.UPDATE_SUCCESS:
      return {
        ...state,
        entities: {
          ...state.entities,
          [action.pokemon.id]: action.pokemon
        }
      };

    default:
      return state;
  }
}
after
import { PokemonActionTypes, PokemonActions } from './pokemon.actions';
import { PokemonState, pokemonAdapter } from './pokemon.adapter';

export function pokemonInitialState(): PokemonState {
  return pokemonAdapter.getInitialState();
}

export function pokemonReducer(
  state: PokemonState = pokemonInitialState(),
  action: PokemonActions
): PokemonState {
  switch (action.type) {
    case PokemonActionTypes.LOAD_POKEMONS_SUCCESS:
      return pokemonAdapter.addAll(action.payload, state);

    case PokemonActionTypes.ADD_SUCCESS:
      return pokemonAdapter.addOne(action.pokemon, state);

    case PokemonActionTypes.DELETE_SUCCESS:
      return pokemonAdapter.removeOne(action.id, state);

    case PokemonActionTypes.UPDATE_SUCCESS:
      const { id } = action.pokemon;
      return pokemonAdapter.updateOne(
        {
          id,
          changes: action.pokemon
        },
        state
      );

    default:
      return state;
  }
}
Selectors
The getSelectors method returned by the created entity adapter provides functions for selecting information from the entity.
Therefore, the four most widely used selectors are available:
export interface EntitySelectors<T, V> {
    selectIds: (state: V) => string[] | number[];
    selectEntities: (state: V) => Dictionary<T>;
    selectAll: (state: V) => T[];
    selectTotal: (state: V) => number;
}
Finally, the pokemon.selector.ts file is slightly modified because we do not need to build the selectAll selector since we will use the one provided by the adapter.
before
import { createFeatureSelector, createSelector } from '@ngrx/store';

import { PokemonState } from './pokemon.adapter';

export const selectPokemonState = createFeatureSelector<PokemonState>(
  'pokemon'
);

export const selectAll = createSelector(
  selectPokemonState,
  state => Object.values(state.entities)
);
after
import { PokemonState, pokemonAdapter } from './pokemon.adapter';
import { createFeatureSelector, createSelector } from '@ngrx/store';

export const selectPokemonState = createFeatureSelector<PokemonState>(
  'pokemon'
);

export const {
  selectIds,
  selectEntities,
  selectAll,
  selectTotal
} = pokemonAdapter.getSelectors(selectPokemonState);
Conclusions
In this post we have refactored the small example of Pokédex using the @ngrx/entity package. The use of an adapter will reduce unnecessary complexity in the management of the state of our application. The adapter allows us to easily extend the state to our needs and has the most used operations when working with the state of an application.
Therefore, in this post we have covered the following topics:
- Decouple the management of the state of the visual components.
- Create the elements for the management of the state efficiently and easily.
- Create components that focus on the relevant: The view.
- Automate the creation of the state since it is very repetitive using @ngrx/entity.
The following posts in this series will cover interesting topics such as:
- Automate the creation of effects, actions and simplify the reduce function using
@ngrx/entity. - Facade pattern will be used through the
@ngrx/datapackage. - Testing the application's state.
The important really are the concepts and not the technique or library used. Therefore, this post should be taken as a guide for those who start to have large Angular applications and require applying architectural principles.
More, More and More...
- Angular Architecture Best Practices
- Angular Architecture - ng-conf
- Angular Architecture (official docs)
- NGRX
- Understanding Memoization
- RxJS
- Facade Pattern
The GitHub branch of this post is https://github.com/Caballerog/ngrx-pokedex/tree/ngrx-part2